Quick start
Create a simple portfolio site and its back-office interface in 5 minutes
Before starting, you need to make sure your system has Ruby 2.5 (or higher) installed. If it is not the case, please follow the first two steps of the following tutorial.
Your system must also have NodeJS installed to compile JS/CSS assets with Webpack.
ImageMagick is considered as optional but we strongly recommend to install it.
1. Install Wagon
Wagon is a command line tool that lets you develop for Locomotive right on your local machine.
With Wagon, you can generate the scaffolding for a new Locomotive site and start adding the content types and templates you need using any text editor. And thanks to Wagon's built-in web server, you can preview the site with your computer's web browser.
Wagon can also deploy sites to any Locomotive Engine using the wagon deploy command. Your changes will immediately be reflected on that site without restarting or making any changes to the Engine server app.
To help you work faster, Wagon comes with support for tools like SASS, HAML, and CoffeeScript. It also works well with source version control systems like git and svn.
gem install locomotivecms_wagon
Make sure it has installed the very last version of Wagon 3.1.1 by typing the following command in your terminal.
wagon version
"The program 'wagon' is currently not installed" error
If you use rbenv to manage your ruby installations, you need to run
rbenv rehash.
running Wagon without bundle exec?
The Wagon ruby script makes sure it uses the same gem versions as the ones declared in the Wagon gemspec. It's achieved thanks to the
bundler/inlinefeature.
That's being said, you're free to use your own Gemfile and run the wagon script withbundle execif you prefer (especially if you want to use a previous version of Wagon).
The LocomotiveCMS hosting platform
We offer Locomotive site hosting services with a limited free plan. Check out our site for more information.
For practical reasons, we will use locomotivecms.com as our deployment target but you're absolutely free to use your own Engine on EC2, Digital Ocean, Engine Yard, Linodes, Heroku, Google Cloud or your own server. Don't forget, everything is open source here.
wagon auth
If you don't have an account, it will create one for you.
2. Create a new Wagon site
We start with a blank site which embeds only the minimal setup we need.
mkdir -p ~/Sites/Wagon
cd ~/Sites/Wagon
wagon init MyPortfolio
cd MyPortfolio
Now, let's launch the Wagon preview server.
wagon serve
Open your browser at this address http://localhost:3333/, you should see a minimal site.
Managing JS/CSS assets
If you plan to use Webpack to manage your JS/CSS files, we suggest to read this guide.
3. Define a section
Sections are UI components that can re-used in multiple pages. You can see them as LEGO blocks that help you and your client to build a site. If you want to know more about it, please read the documentation about it or test our demo site here to see them in action.
In this Quick Start, we're going to build a very simple Hero section which will include a title, a sub title and a background images that the editors will be able to change in the LocomotiveCMS back-office.
But first, let's generate it with our section built-in generator.
wagon generate section hero --no-global -i image_text title:text subtitle:text background_image:image_picker
Open the app/views/sections/hero.liquid file.
This file contains 2 main parts:
- the first one is written in YAML and describes how the back-office will render the editor UI.
- the second part is the Liquid template itself.
Leave the YAML part as it is and replace the liquid template (the text below the second --- line, right after line 60).
<section id="{{ section.anchor_id }}" class="hero hero-section is-large is-relative" {{ section.locomotive_attributes }}>
  <div style="position: absolute; top: 0; left: 0; width: 100%; height: 100%; background: center / cover no-repeat url('{{ section.settings.background_image }}'); opacity: 0.4"></div>
  <div class="hero-body">
    <div class="container">
      <h1 class="title">
        {{ section.settings.title }}
      </h1>
      <h2 class="subtitle">
        {{ section.settings.subtitle }}
      </h2>
    </div>
  </div>
</section>
4. Define a content type
One essential feature of any CMS is the ability to manage structured content. Fortunately, this is one of Locomotive's strongest points.
For our portfolio site, let's say we want to manage a list of our client projects. Those projects are defined by a name, a client name, a description and an image.
Wagon includes a number of built-in generators, "content_type" is one of them.
wagon generate content_type projects name:string client:string description:text image:file
This command generates 2 files:
- app/content_types/projects.yml: It defines the content type.
- data/projects.yml: Auto-generated list of project samples.
Let's now create a section to display the projects
wagon generate section --no-global -i list latest_projects title:text projects:content_type
The same way as we did on step 3, we're going to replace the liquid part of the section in the app/views/sections/latest_projects.liquid file (line 53).
<div id="{{ section.anchor_id }}" class="section latest-projects-section" {{ section.locomotive_attributes }}>
  <h2 class="title is-2">{{ section.settings.title }}</h2>

  <div class="columns is-multiline">
    {% for project in contents.projects %}
      <div class="column is-half">
        <div class="card">
          <div class="card-image">
            <figure class="image is-4by3">
              <img src="{% if project.image.url is blank %}https://bulma.io/images/placeholders/1280x960.png{% else %}{{ project.image.url | resize: '800x800#' }}{% endif %}" alt="{{ project.name }}">
            </figure>
          </div>
          <div class="card-content">
            <div class="media">
              <div class="media-content">
                <p class="title is-4">{{ project.name }}</p>
                <p class="subtitle is-6">{{ project.client }}</p>
              </div>
            </div>
            <div class="content">
              {{ project.description }}
            </div>
          </div>
        </div>
      </div>
    {% endfor %}
  </div>
</div>
5. Display your sections in the index page
We've built 2 sections so far (hero and latest_projects). However, for now, they aren't displayed in the site.
In order to solve this, we need to update the Liquid template of the index page (app/views/pages/index.liquid). Replace the whole file with the following code:
---
title: Home page
published: true
sections_content:
  hero:
    settings:
      title: "Hello world!"
      subtitle: "This is my first section in action"
      background_image: "/samples/images/default.svg"
    blocks: []

  latest_projects:
    settings:
      title: "Our latest projects"
    blocks: []
---
{% extends 'layouts/default' %}

{% block 'main' %}

  {% section 'hero' %}

  {% section 'latest_projects' %}

{% endblock %}
What's the sections dropzone?
In this example, the editor can't delete sections or add new ones. To enable this behavior, you need to define a dropzone area. You'll find more information about it here.
6. Add a little bit of style
If you refresh your site in your browser, you will notice that this doesn't look really good.
To make it nicer, we're going to use Bulma, a HTML/CSS framework.
Again, in LocomotiveCMS, you're absolutely free to pick any of those frameworks (Bootstrap, Foundation, ...etc) or use none :-)
Since using Webpack is out of the scope of this guide (more information here), we will simply put a link to the Bulma stylesheet.
Open the app/views/pages/layouts/default.liquid file and replace the template with the following code:
---
title: Default layout
is_layout: false
---
<!DOCTYPE html>
<html lang="{{ locale }}">
  <head>
    <meta charset="utf-8">
    <meta name="viewport" content="width=device-width, initial-scale=1">

    <link rel="stylesheet" href="https://cdn.jsdelivr.net/npm/[email protected]/css/bulma.min.css">

    {% seo %}

    {{ 'bundle.css' | stylesheet_tag }}
    {{ 'bundle.js' | javascript_tag }}

    {% if wagon %}
      <script src="http://localhost:35729/livereload.js"></script>
    {% endif %}
  </head>
  <body>
    {% block 'main' %}
    {% endblock %}
  </body>
</html>
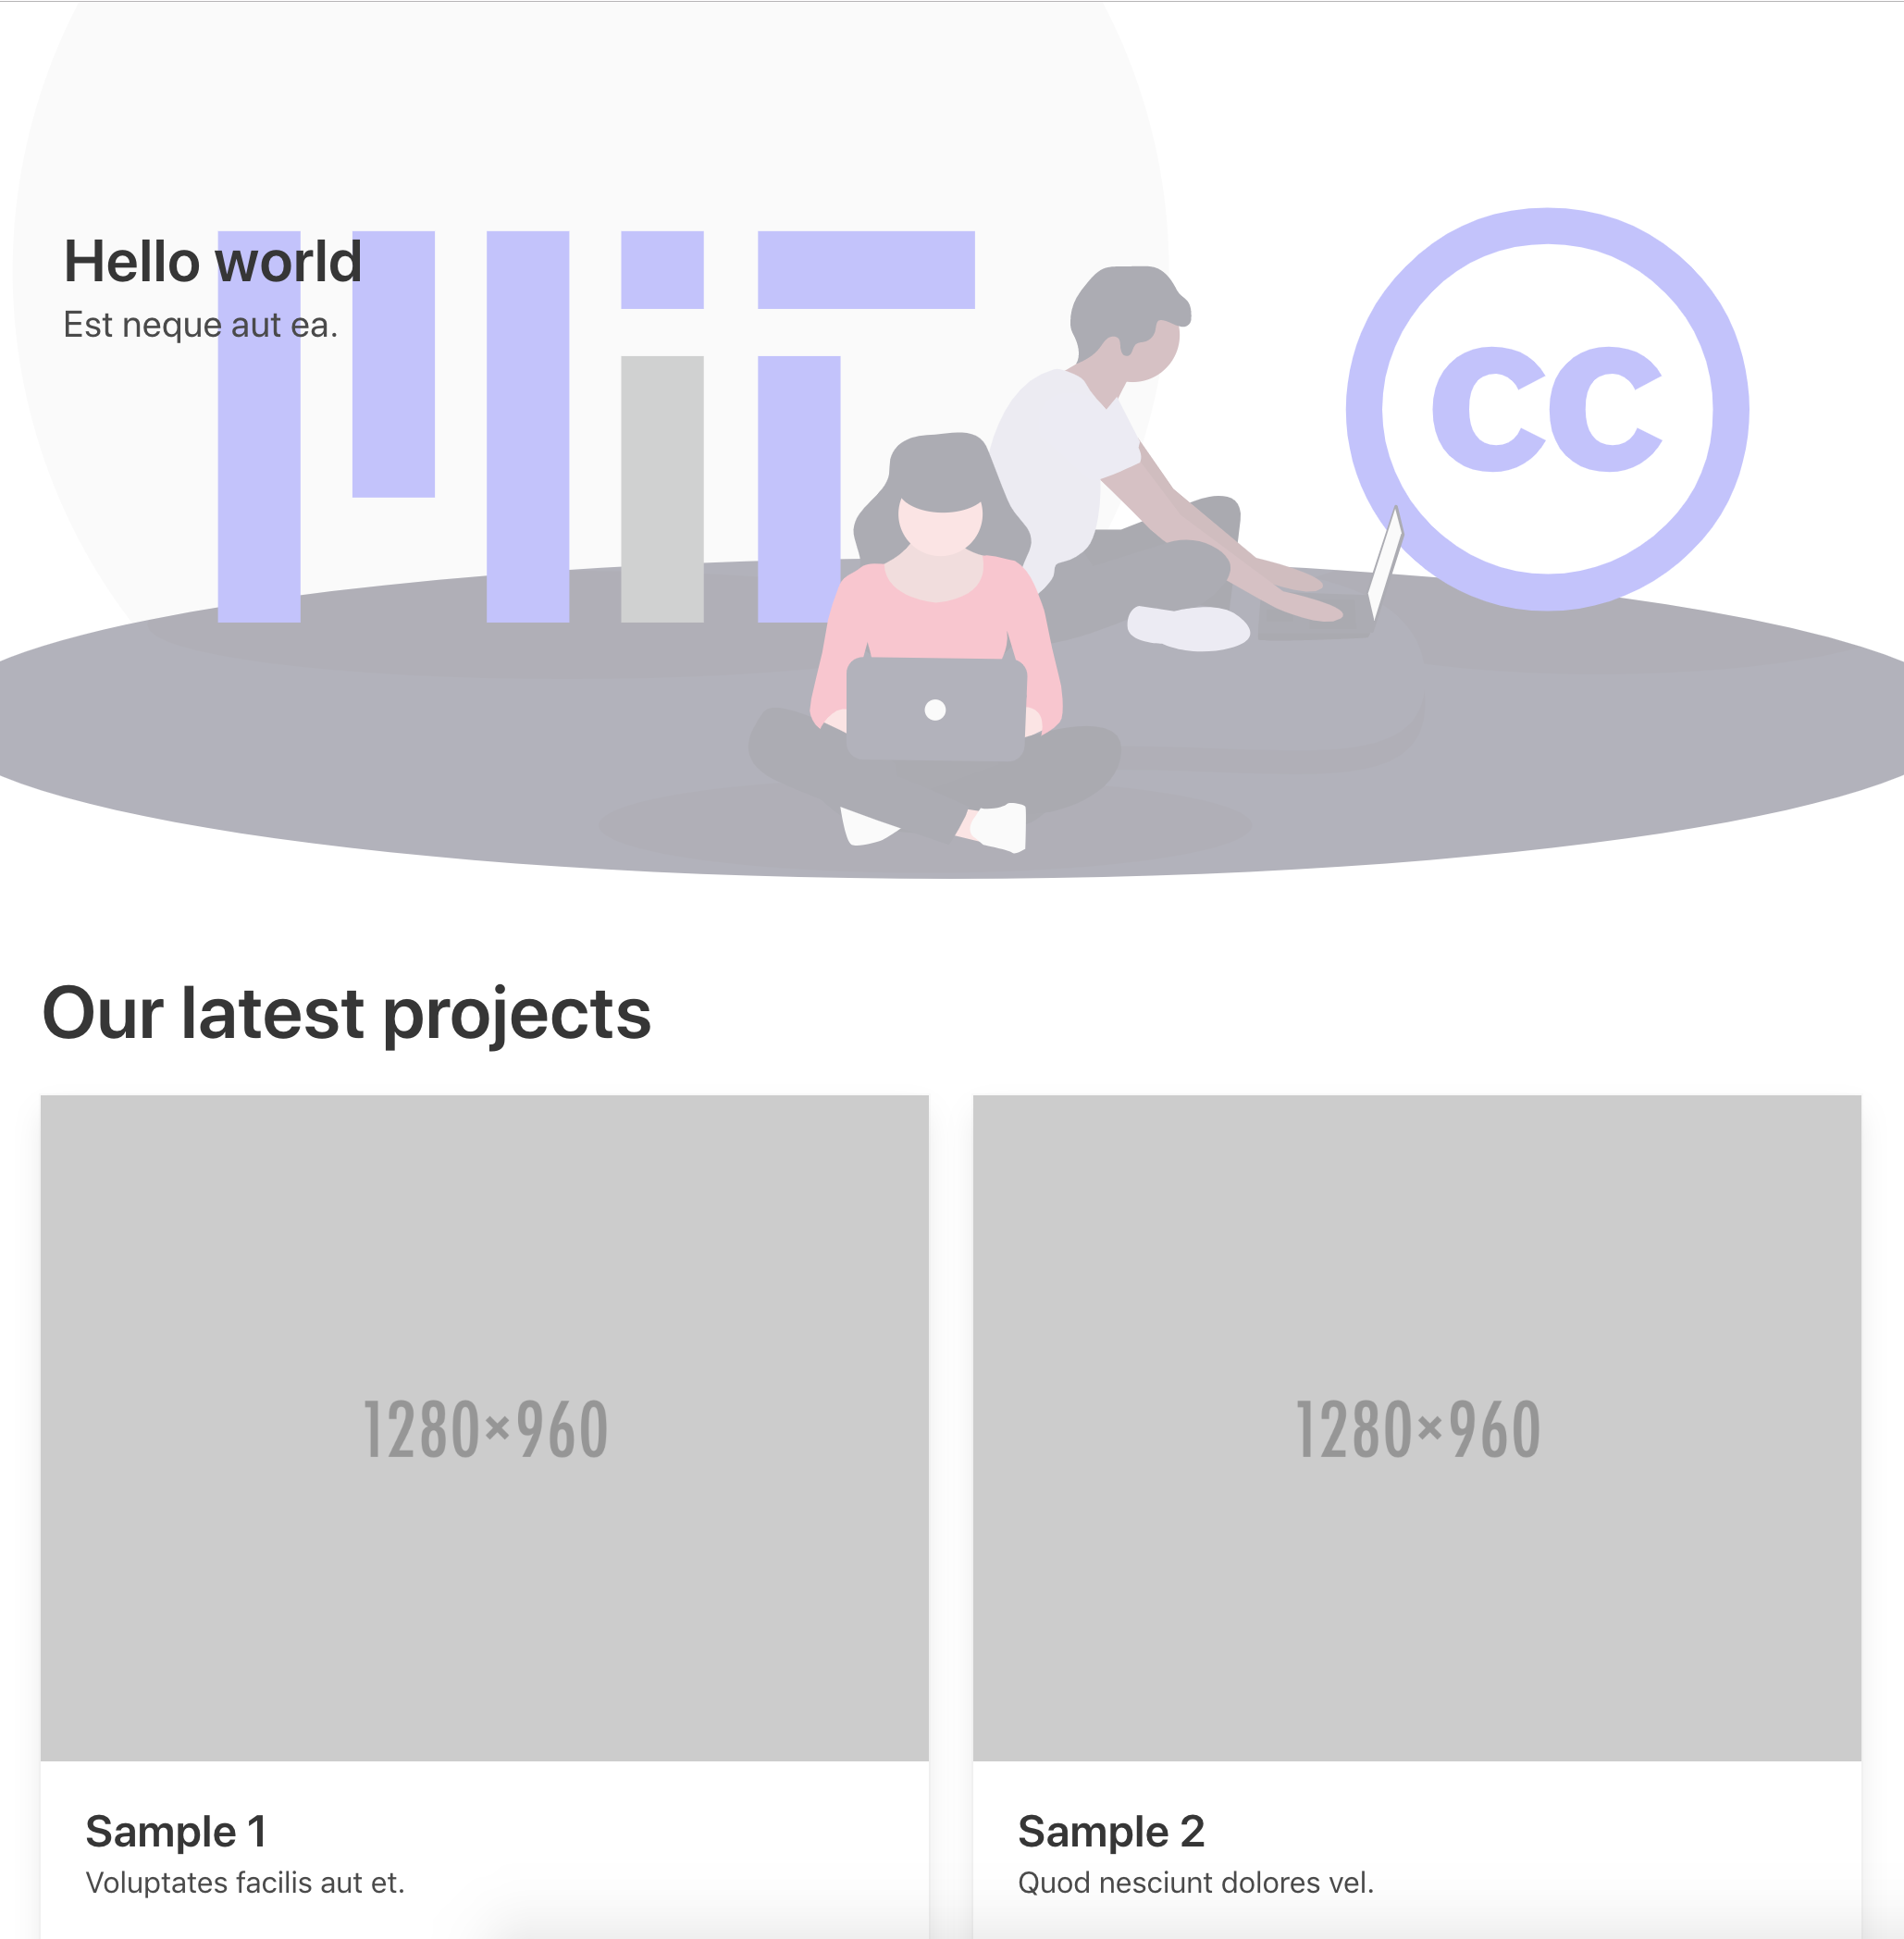
Refresh your browser (http://localhost:3333) and voilà!

7. Deploy the site
Now we have a working Wagon site, we want to see it working online, with the backoffice and everything. That's the role of the Locomotive engine.
Now, let's deploy our site!
wagon deploy live -d -v
Since the site doesn't exist yet on the Locomotive engine, you will be asked for a couple of information about it.
8. Modify the live content of your site!
Go to locomotive.works and sign in with the credentials you entered in the first step.
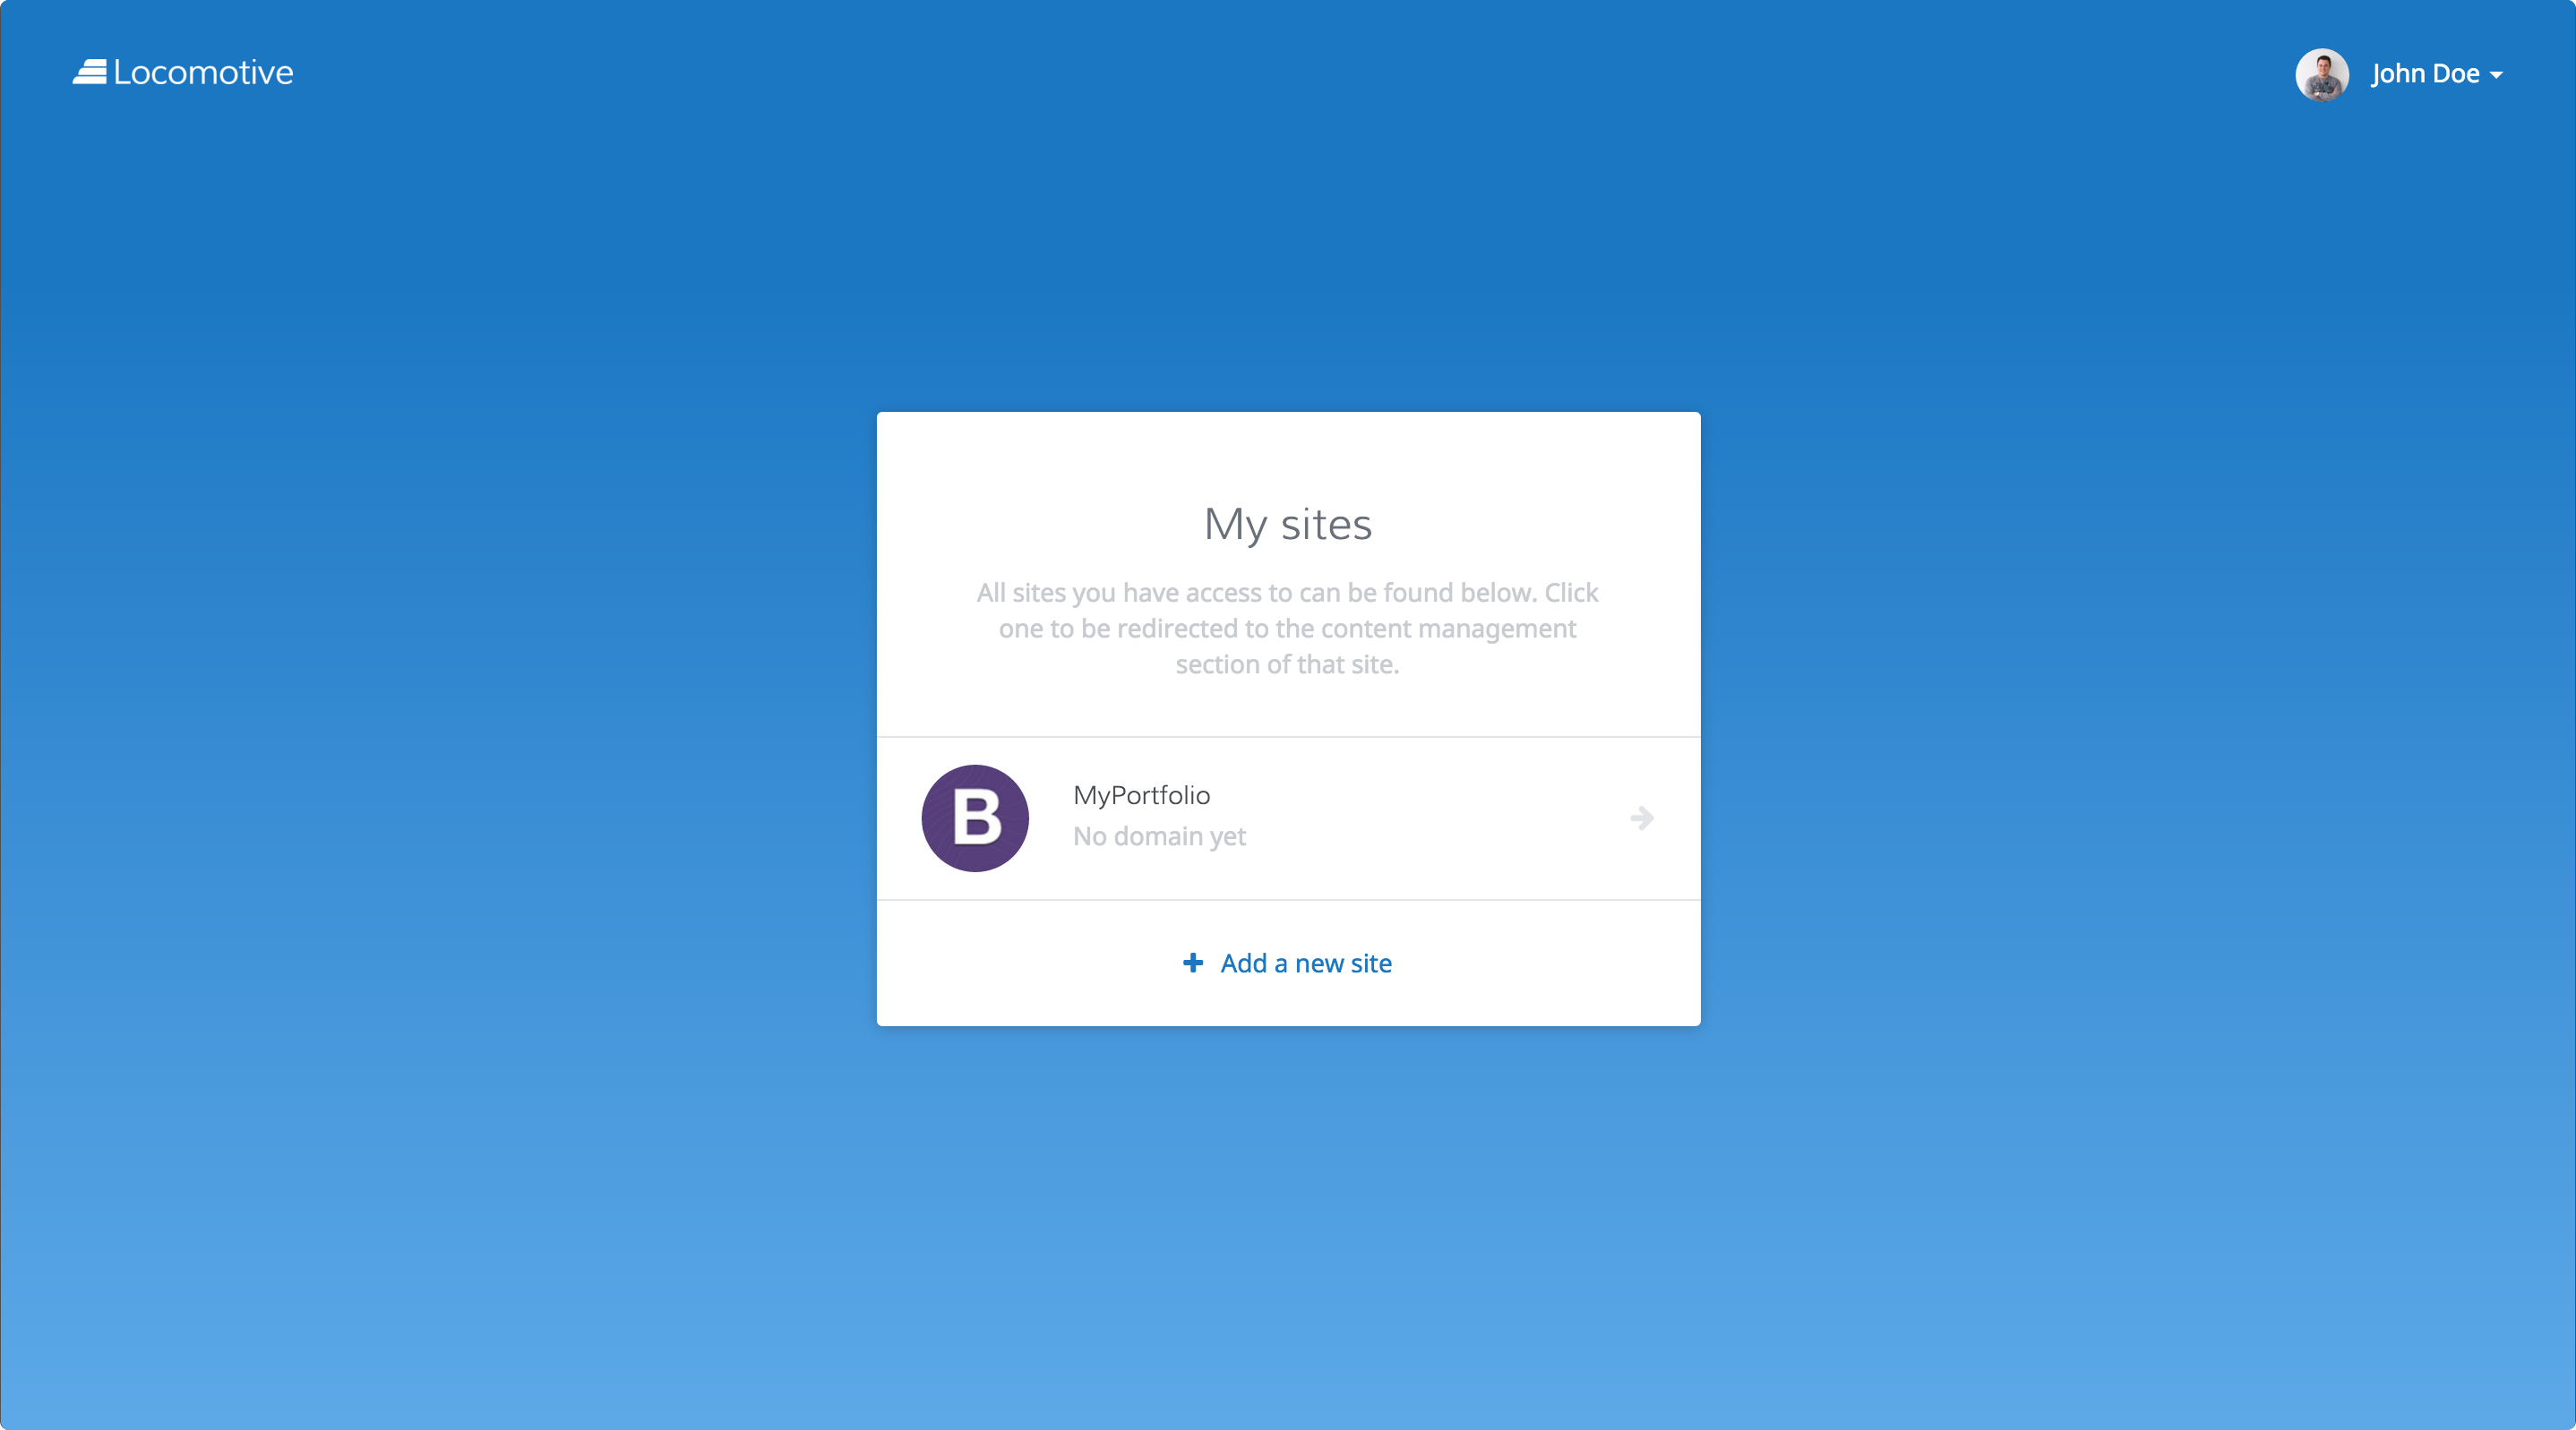
Then, you will see the following screen:

List of sites
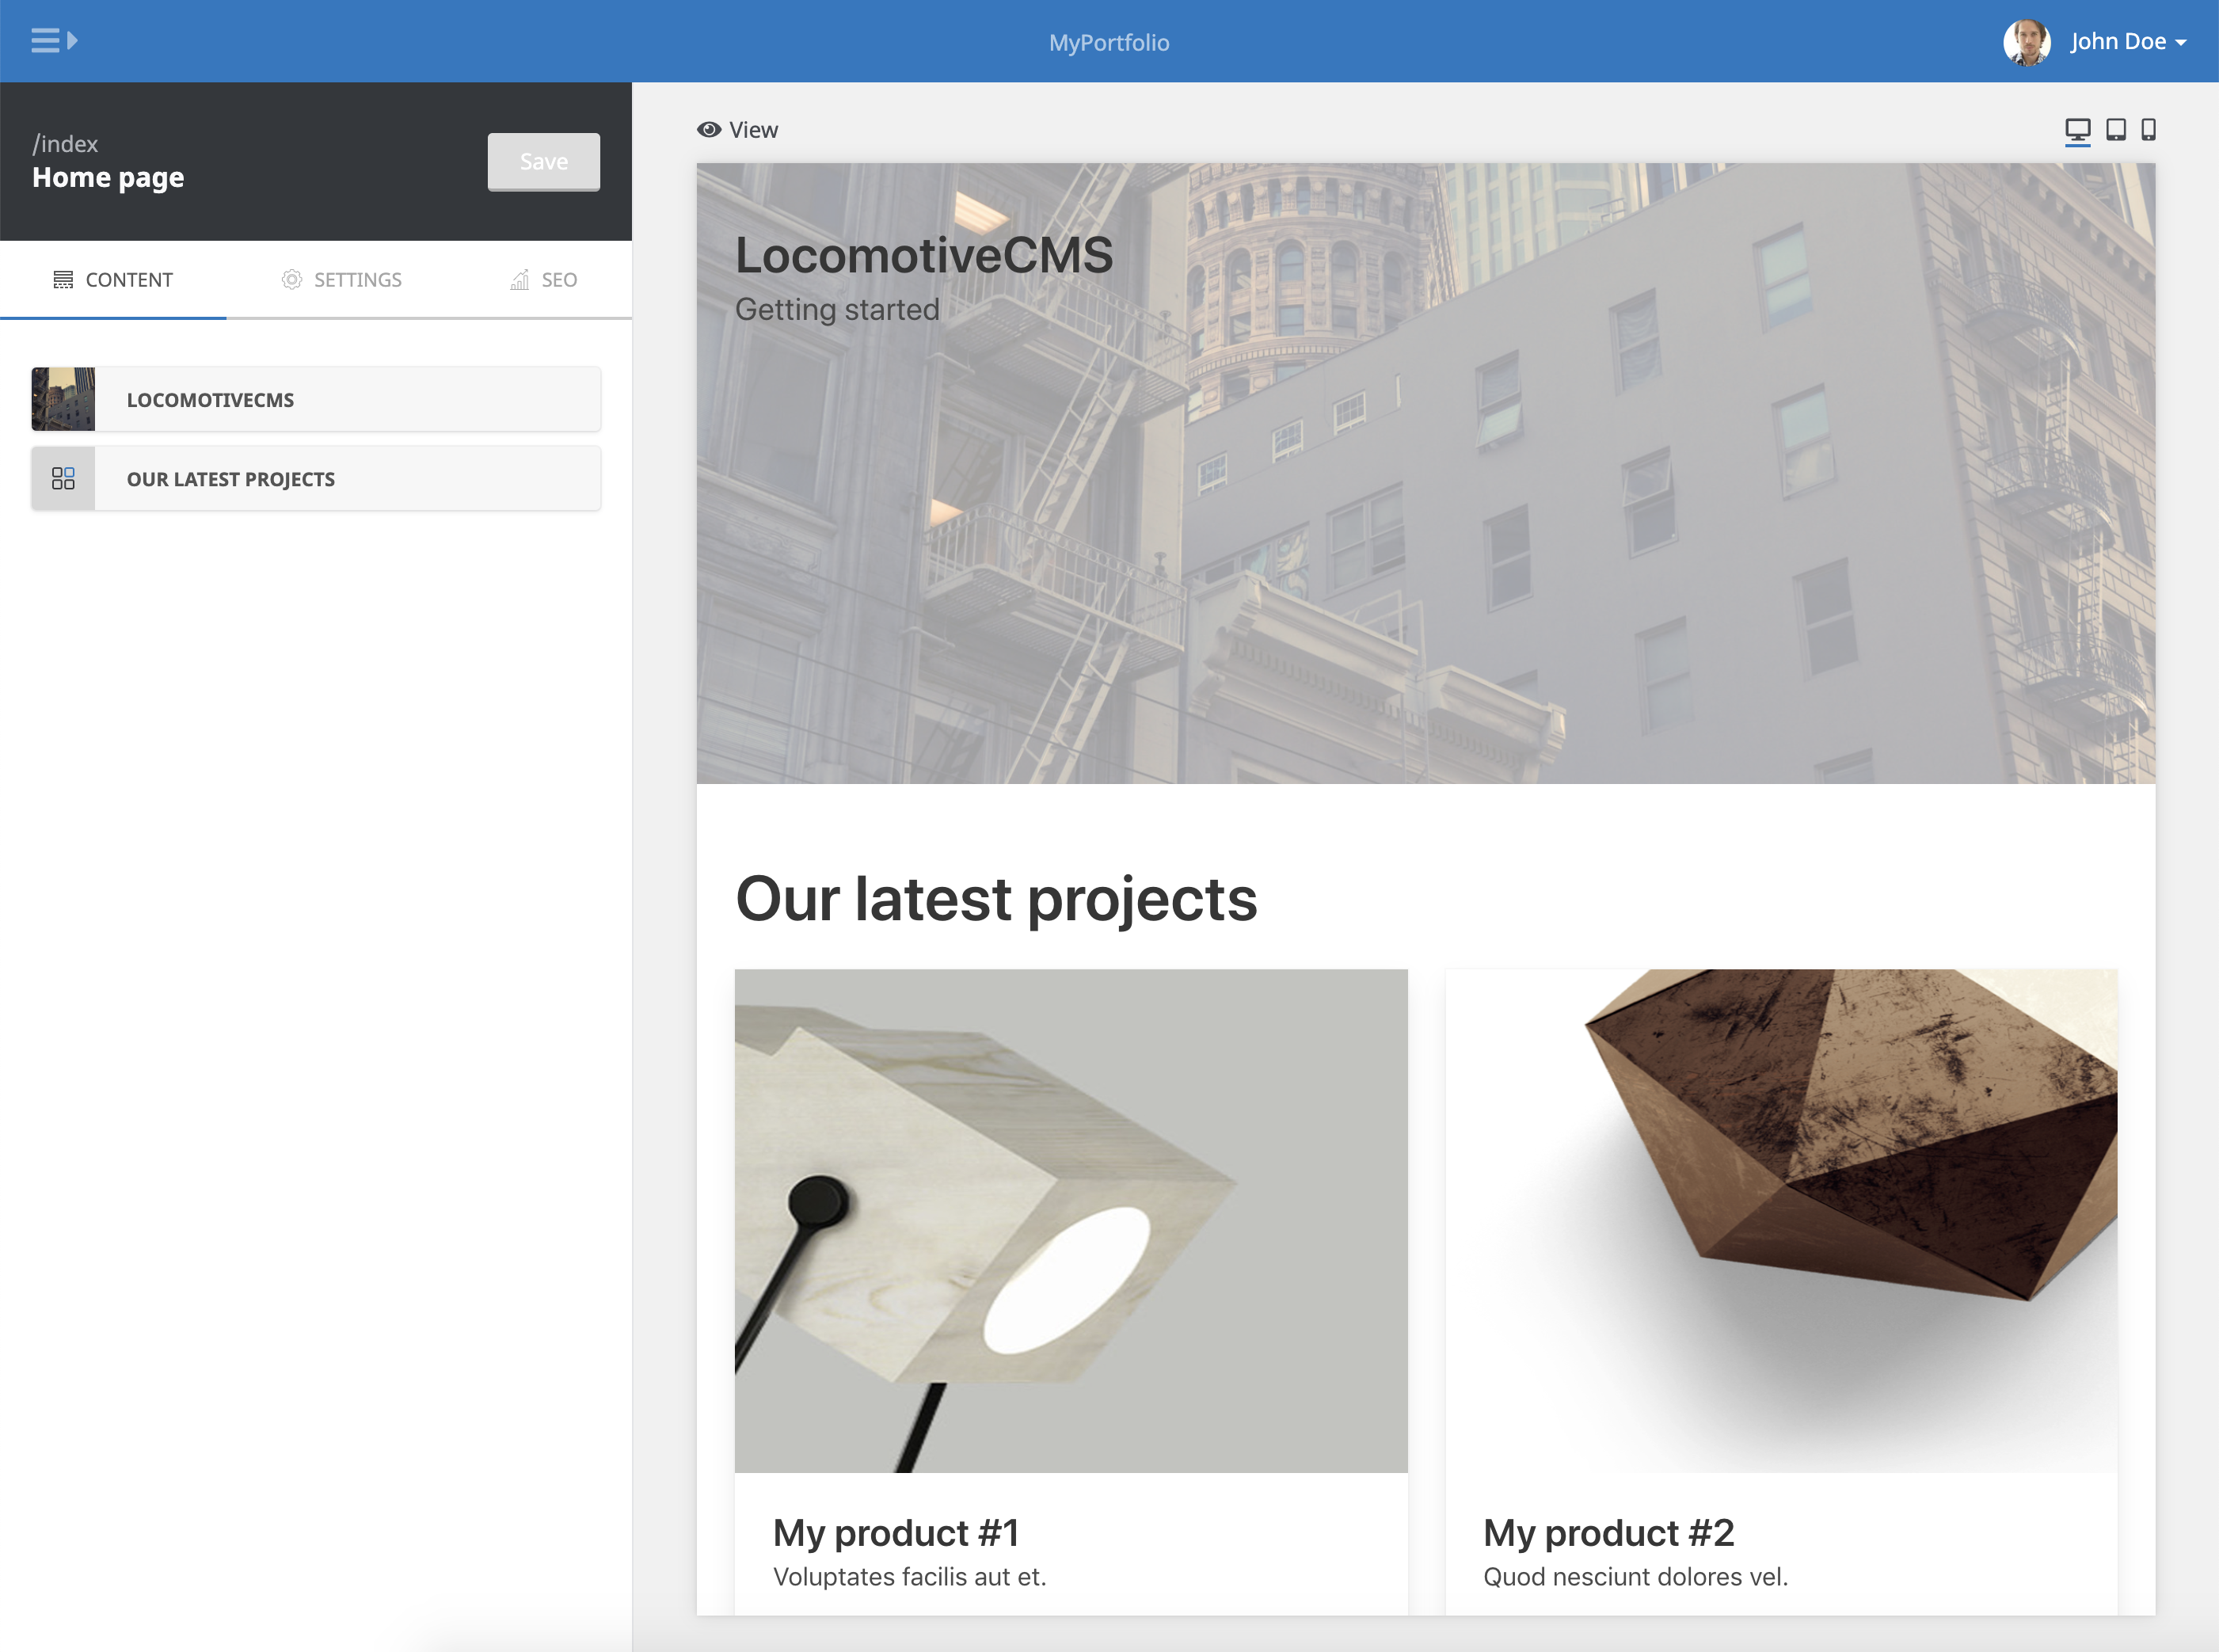
You can edit the content of the index page by clicking on the Home page in the left sidebar.

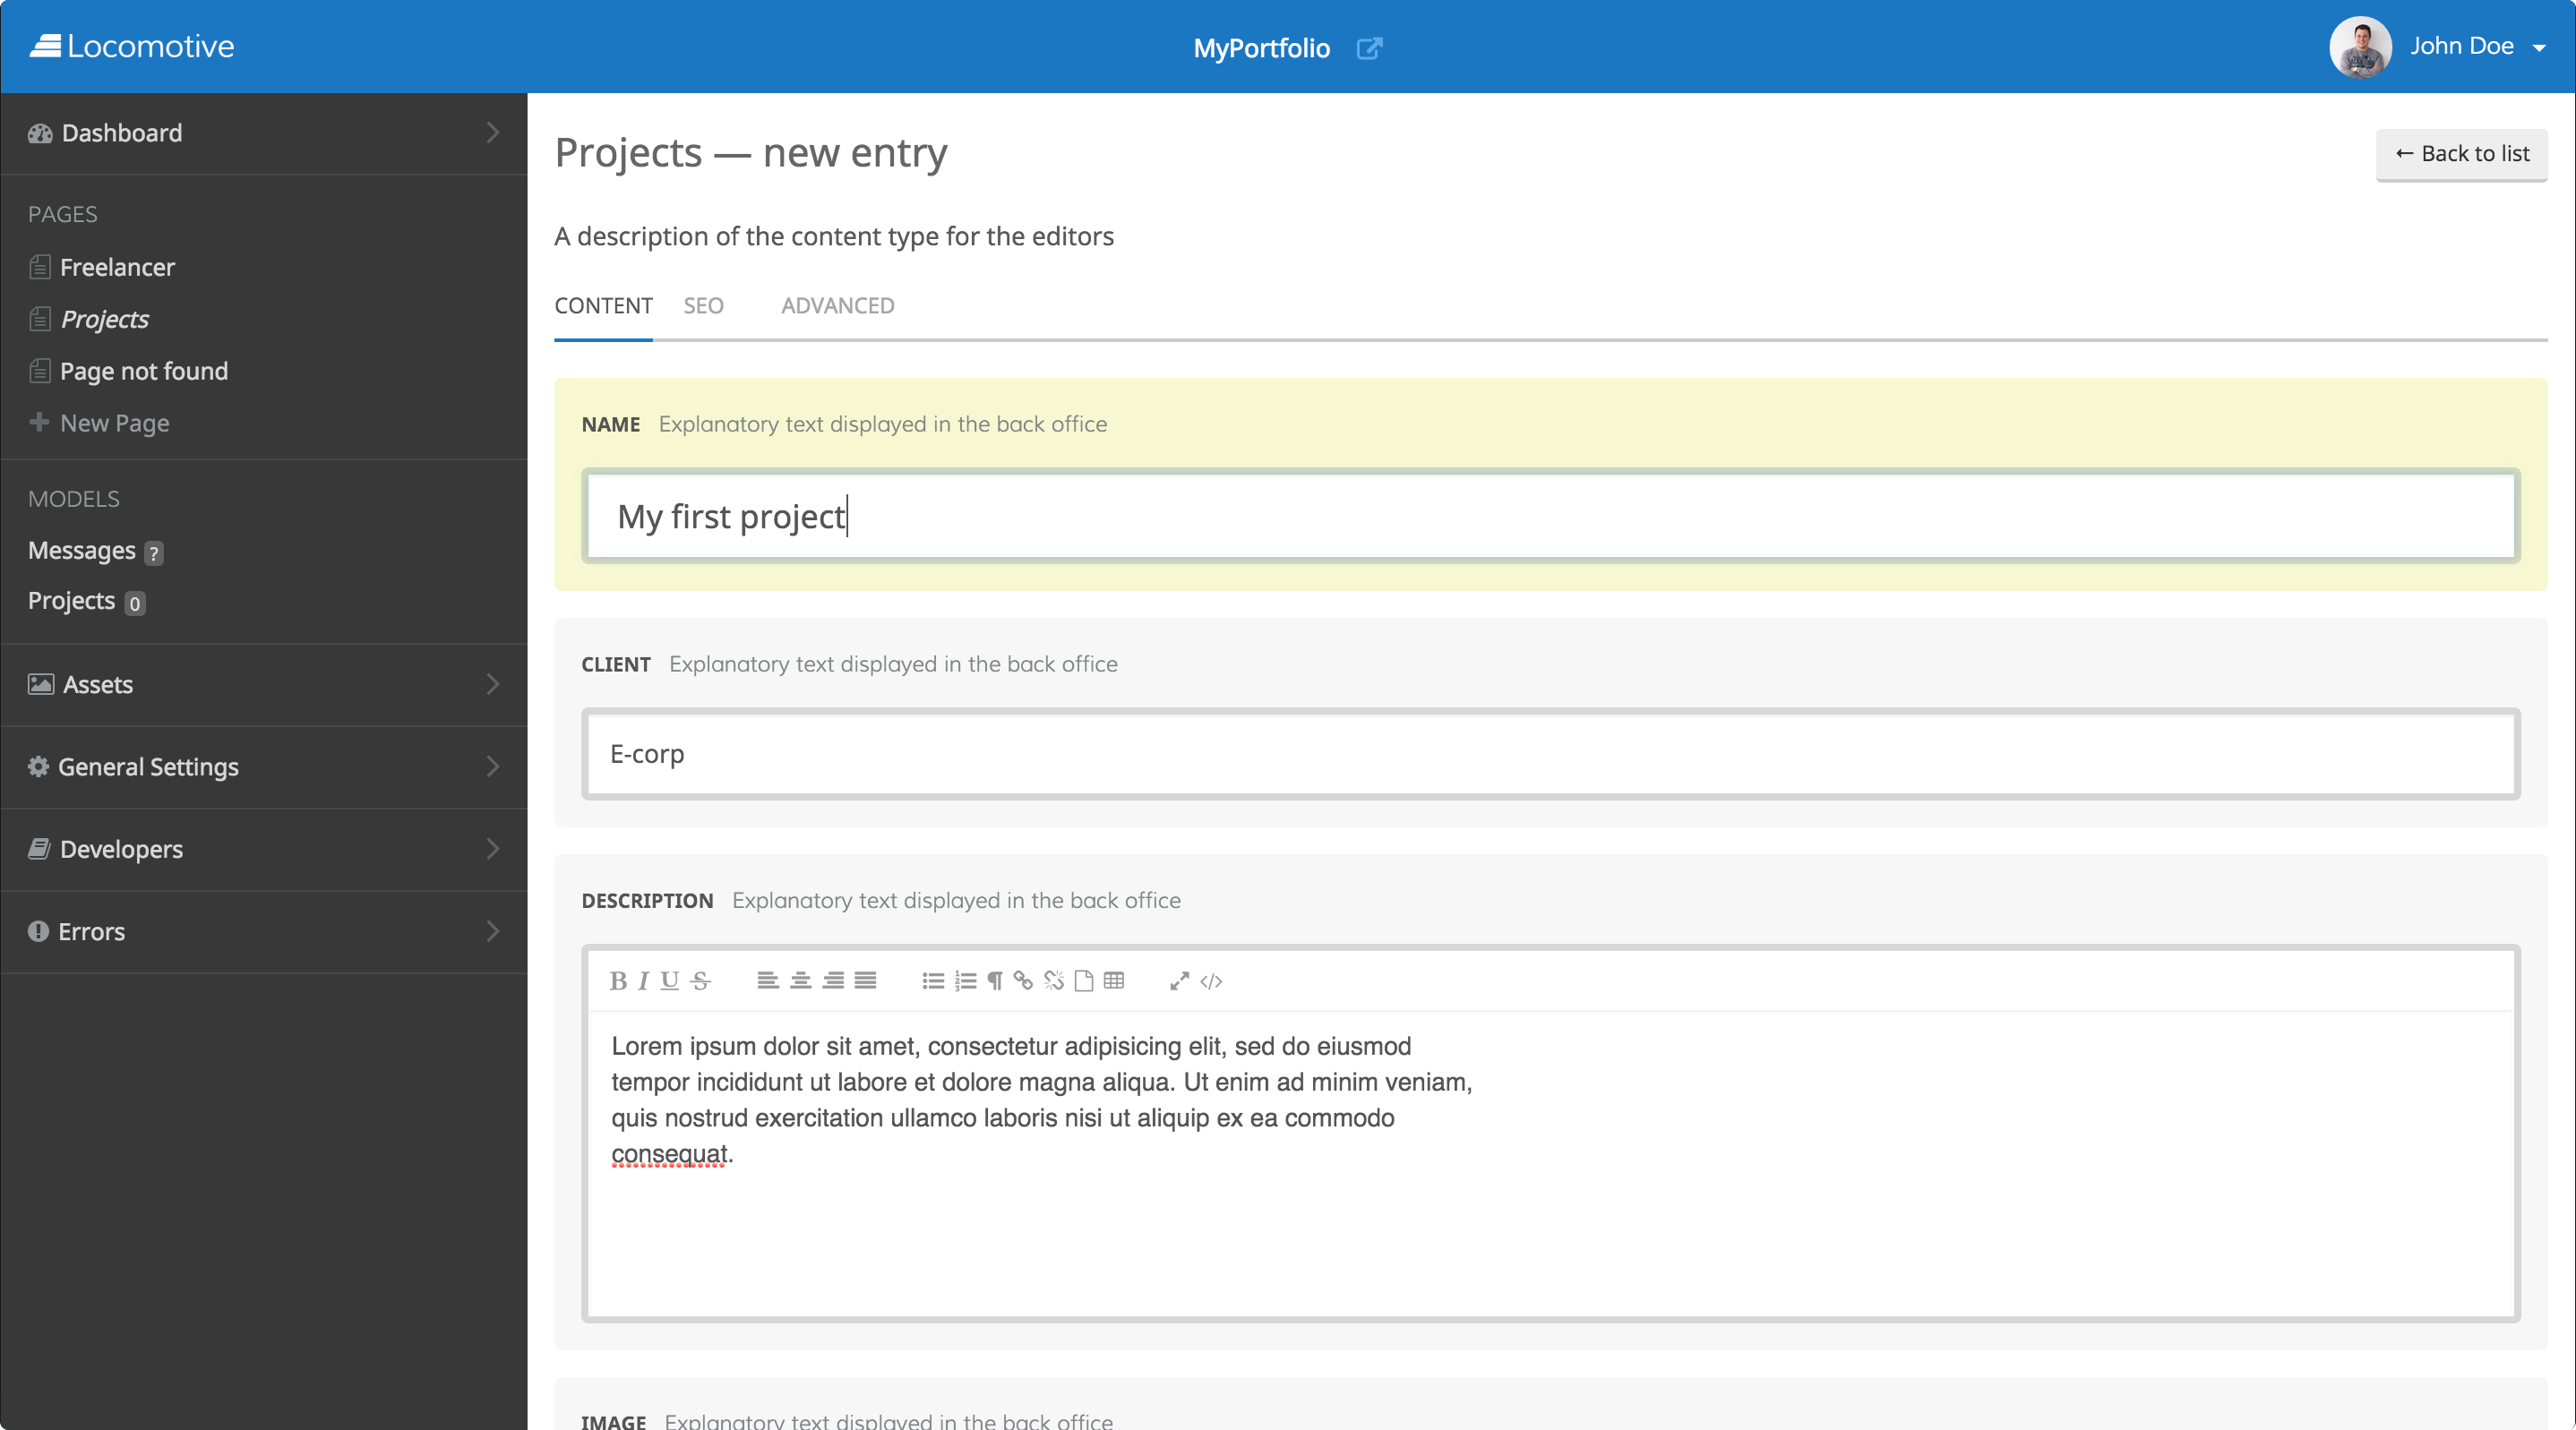
If you want to add a new project, in the left sidebar, click on the "Projects" link just below "Models". In the next screen displaying all the projects (none for now), click on the "New entry" button. Fill the form and save your project.

Finally, go back to your "Projects" page. You should see your new project!
What next?
In less than 5 minutes, you were able to create a simple portfolio and generate a nice looking back-office to edit the content of your site.
The site definitively needs a custom design. How to do it? Very simple, go back to your Wagon files and tweak your app.scss file.
You want to add a blog? Well, that's also an easy task. Create the right content type (posts for instance?) and write the pages to display your posts.
When you're done, just deploy your changes with the wagon deploy command!
Updated 7 months ago
