Upgrade to v3
This guide helps you upgrading from an engine V2 to V3. Make sure you backup your engine and wagon before starting.
This guide is a work in progress.If you face issues or have questions, contact us on Gitter.
Backup your Locomotive site
First we will pull all latest changes from the website with wagon. Notify your customer that they should not work on their website while you are in the process of updating to V3.
bundle exec wagon pull productionThis should pull everything locally.
Upgrade your Rails application
Go to your Rails application folder and edit your Gemfile.
gem 'locomotivecms', '~> 3.0.0'Then, run the following commands:
bundle install
bundle exec rake locomotive:upgrade:v3
Alternative methodWe found out that creating a new Locomotive application with the old MongoDB database and run the rake task works really fine.
Get a local Wagon site
To edit the templates and the content types of your site, you need to use Wagon.
If you used Wagon to build your sites, you just have to read the next chapter.
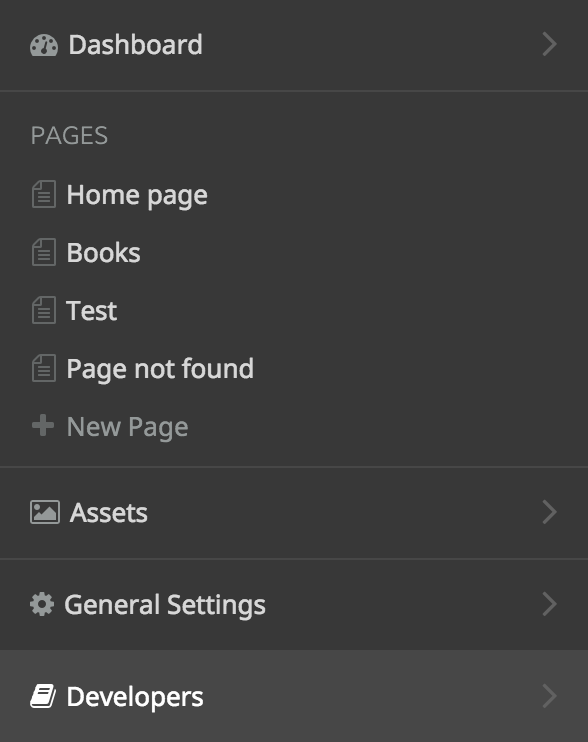
If you created your sites from the Locomotive back-office, you first need to get a local copy of your site. Simply go to the new back-office of your site and in the sidebar, click on the tab named "Developers". You will have then all the instructions to get your local Wagon site.

Upgrade your wagon site
If you developed your website locally, make sure you update your wagon repo. Change the following line in your Gemfile:
gem 'locomotivecms_wagon', '2.0.0'Then run the following commands:
bundle updateThis should've updated all your gems and you should be ready to go. Run you wagon project locally and see if everything works fine.
bundle exec wagon serveUpgrade your sites
We tried as much as possible to stick with the current templating API. However, links don't work exactly like before. You can keep the relative paths but changing to path_to is much better.
For instance, this used to work:
<a href="/about-us">About us</a>Unfortunately, the code above won't work if the page is previewed in the live preview mode in the Locomotive engine. Besides, if your site is localized, the link will work only in one locale.
The right way now is to use the path_to liquid tag and to set the handle property for the page.
<a href="{% path_to about-us %}"/>About us</a> <!-- about-us is the page handle -->The same applies to links to content entries. Old code below:
{% for product in contents.products %}
	<a href="/products/{{ product._slug }}">{{ product.name }}</a>
{% endfor %}
The new code should be:
{% for product in contents.products %}
<a href="{% path_to product %}">{{ product.name }}</a>
{% endfor %}
Locomotive REST API
In Locomotive v2, it works like described here: http://doc.locomotivecms.com/guides/restful-api.
However, in Locomotive v3, we changed a couple of things. First, the API URL to get an authorization token is different. Then, you need to pass the email in the header of your request as long as the handle of your site if the resource is scoped by a site.
Hopefully, we wrote a Ruby API Client that we use inside the new version of Wagon. More information here: https://github.com/locomotivecms/coal.
Updated 8 months ago
