CSV import
This functionality is only available from Locomotive v4.1 and above.
The entries of a content type can also imported by the upload of a CSV file in the back-office.
By default, this functionality is disabled and the editors won't see the import button in the UI.
In order to use it, follow the instructions below.
1. Modify the definition of your content type.
In your Wagon site, modify the definition of your content type by adding a new property: import_enabled.
Here is an example:
name: Products
slug: products

import_enabled: true

...
fields:
   ....
...
Once your file is updated, deploy your changes with the wagon deploy command.
2. Test the CSV import in the back-office
Log in to the Locomotive back-office and go your content type / model from the sidebar. You will see now a new button at the top of the page listing all your content entries.

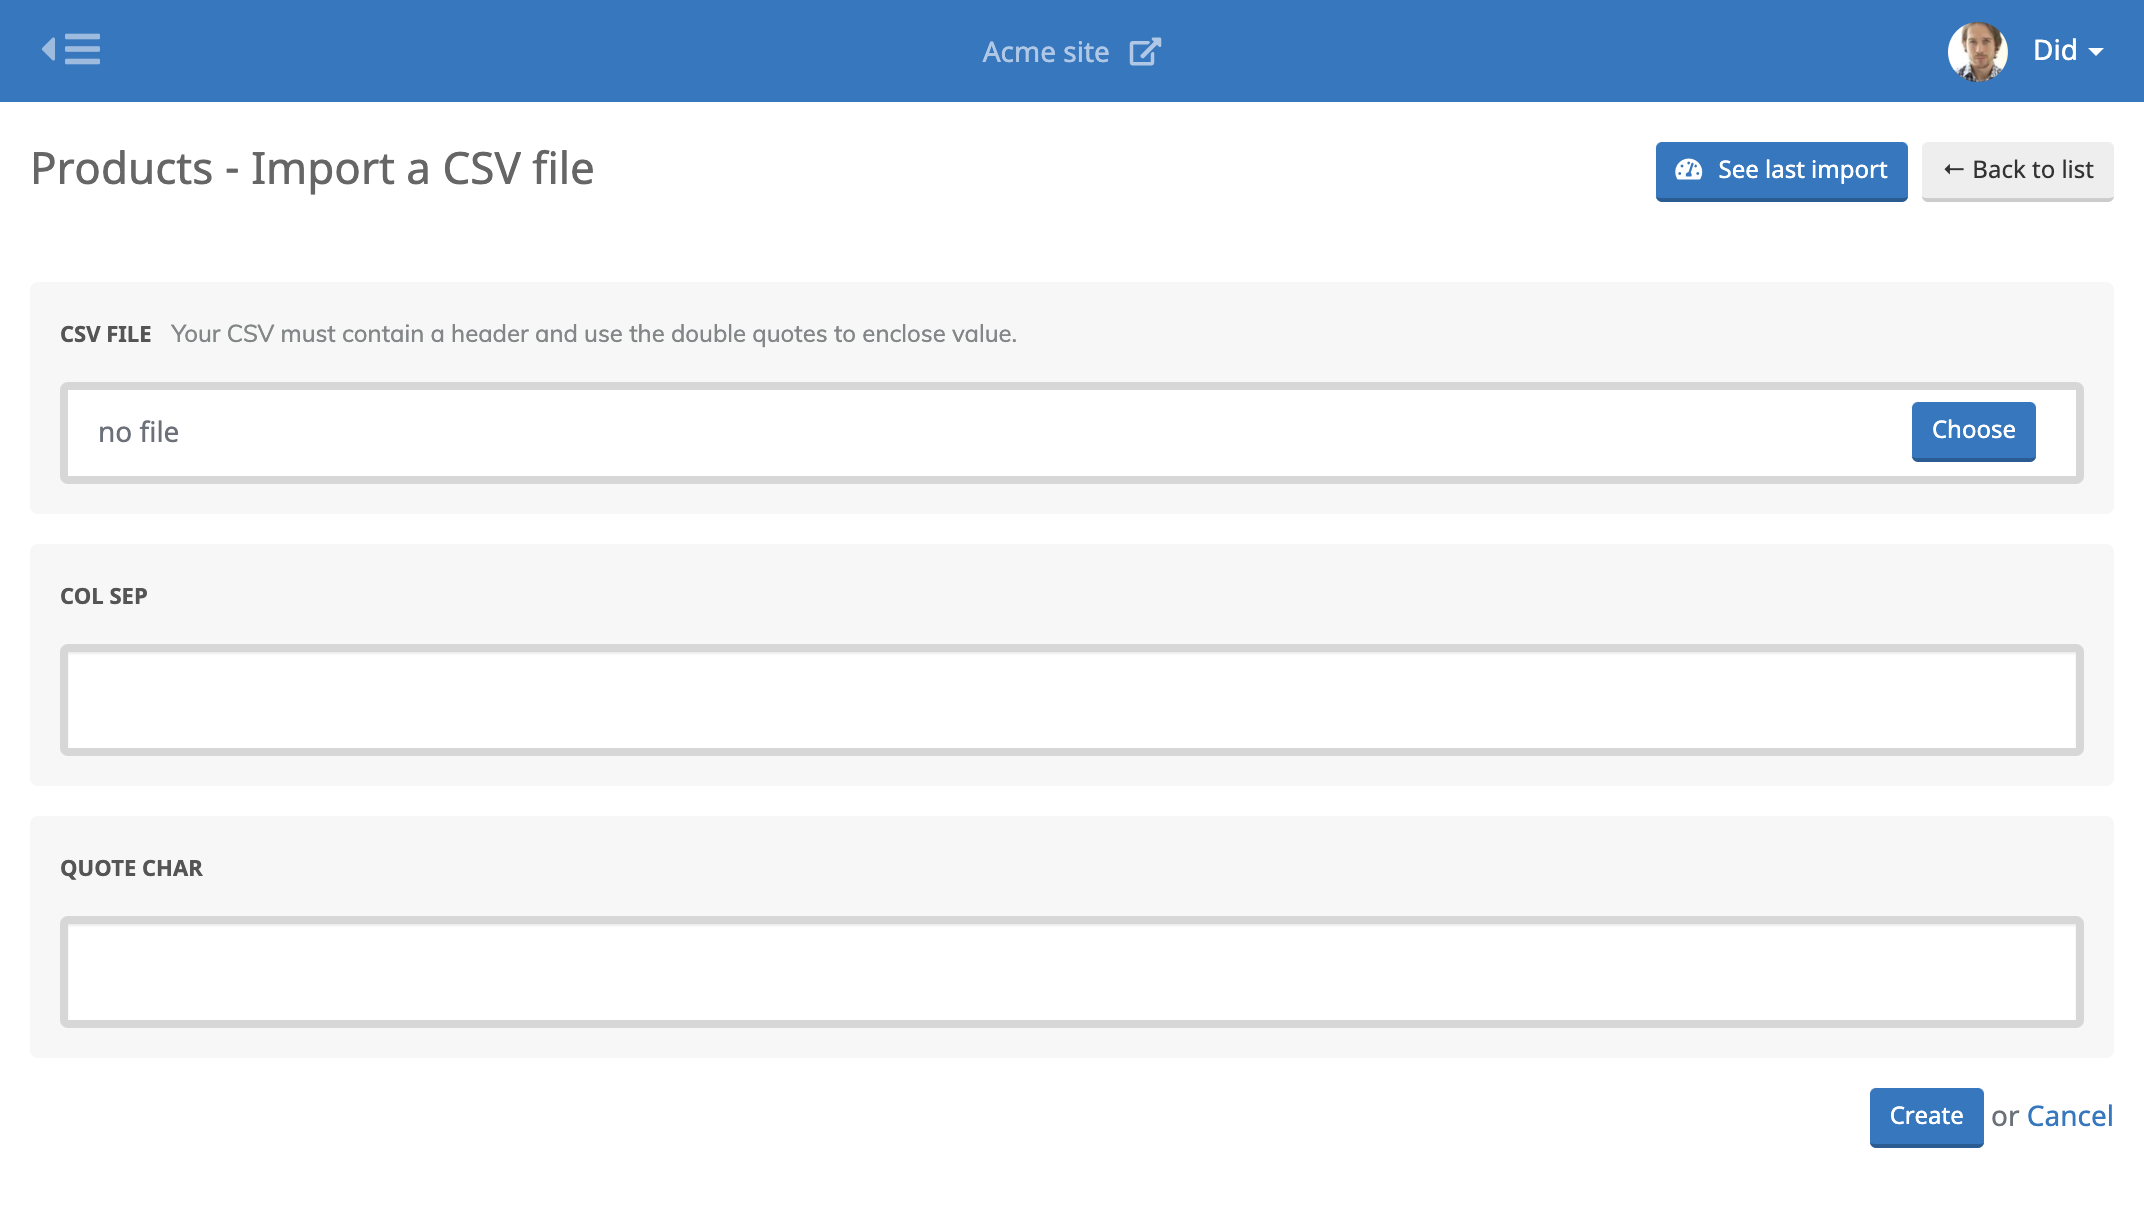
Click on the CSV import button to access the following screen.

By default, thecol sepis the semicolon character and thequote charis the double quote character.
In the CSV file expected by Locomotive, the first line represents the names of the content type fields.
Here is an example of a working CSV file ("name" being a field of the products content type).
"_slug";"name";
"product-number-1";"Product #1"
"product-number-2";"Product #2"
"product-number-3";"Product #3"
To avoid duplicated content entries:Add the
_slugcolumn in your CSV.
If a content entry with the same_slugalready exists in Locomotive, the import task will perform an update instead of a create.
The import feature doesn't handle file upload.To bypass that constraint, we suggest to upload the assets on AWS S3 or Dropbox with a public access and then reference their URLs in the CSV file.
Updated 8 months ago
