Install anywhere
Locomotive Engine is the ruby on rails application that will host the sites you previously developed on your computer using its sibling application: Wagon. The advantage is that you never have to put your live site in maintenance mode or take it offline while editing. Once your site is ready for production on your computer, just deploy it with wagon to (one of) your engine instance(s) and you're live within seconds.
Install Engine
Prerequisites:
- MongoDB 3.4
- Ruby 2.6
- Ruby on Rails 5.2.4.1 (or any version above 5.2.0 and below 6)
- ImageMagick
- NodeJS
Create a new Ruby on Rails app:
is Rails 6 installed on your computer?If so, please install Rails 5.2.4.1 (or above and below 6) and specify this version of Rails when creating the new Rails app. Here is the command:
rails _5.2.4.1_ new locomotiveapp --skip-bundle --skip-active-record
rails new locomotiveapp --skip-bundle --skip-active-record
cd locomotiveapp
In case you need to force a version of ruby, run the following statement.
echo "2.6.5" > .ruby-versionMake sure you delete the robots.txt file from public/ otherwise any future sites' robots.txt setting won't be picked up.
Add the Mongoid and Devise gems in your Gemfile.
gem 'devise', '~> 4.7.1'
gem 'mongoid', '~> 6.4.0'
Install them and run their setup tasks
bundle install
bundle exec rails generate mongoid:config
bundle exec rails generate devise:install
Update the Gemfile of the Rails application by adding the locomotivecms gem.
 Gemfile
gem 'locomotivecms', '~> 4.0.1'
Run the Locomotive installation generator
bundle update
bundle exec rails generate locomotive:install
The installation adds the puma gem to the Rails application's Gemfile. An additional bundle install is required:
bundle installFinally, run the Rails server
bundle exec rails serverNow, open your browser at http://localhost:3000/locomotive. You should see the Locomotive Sign in page.
Creating your first account and site
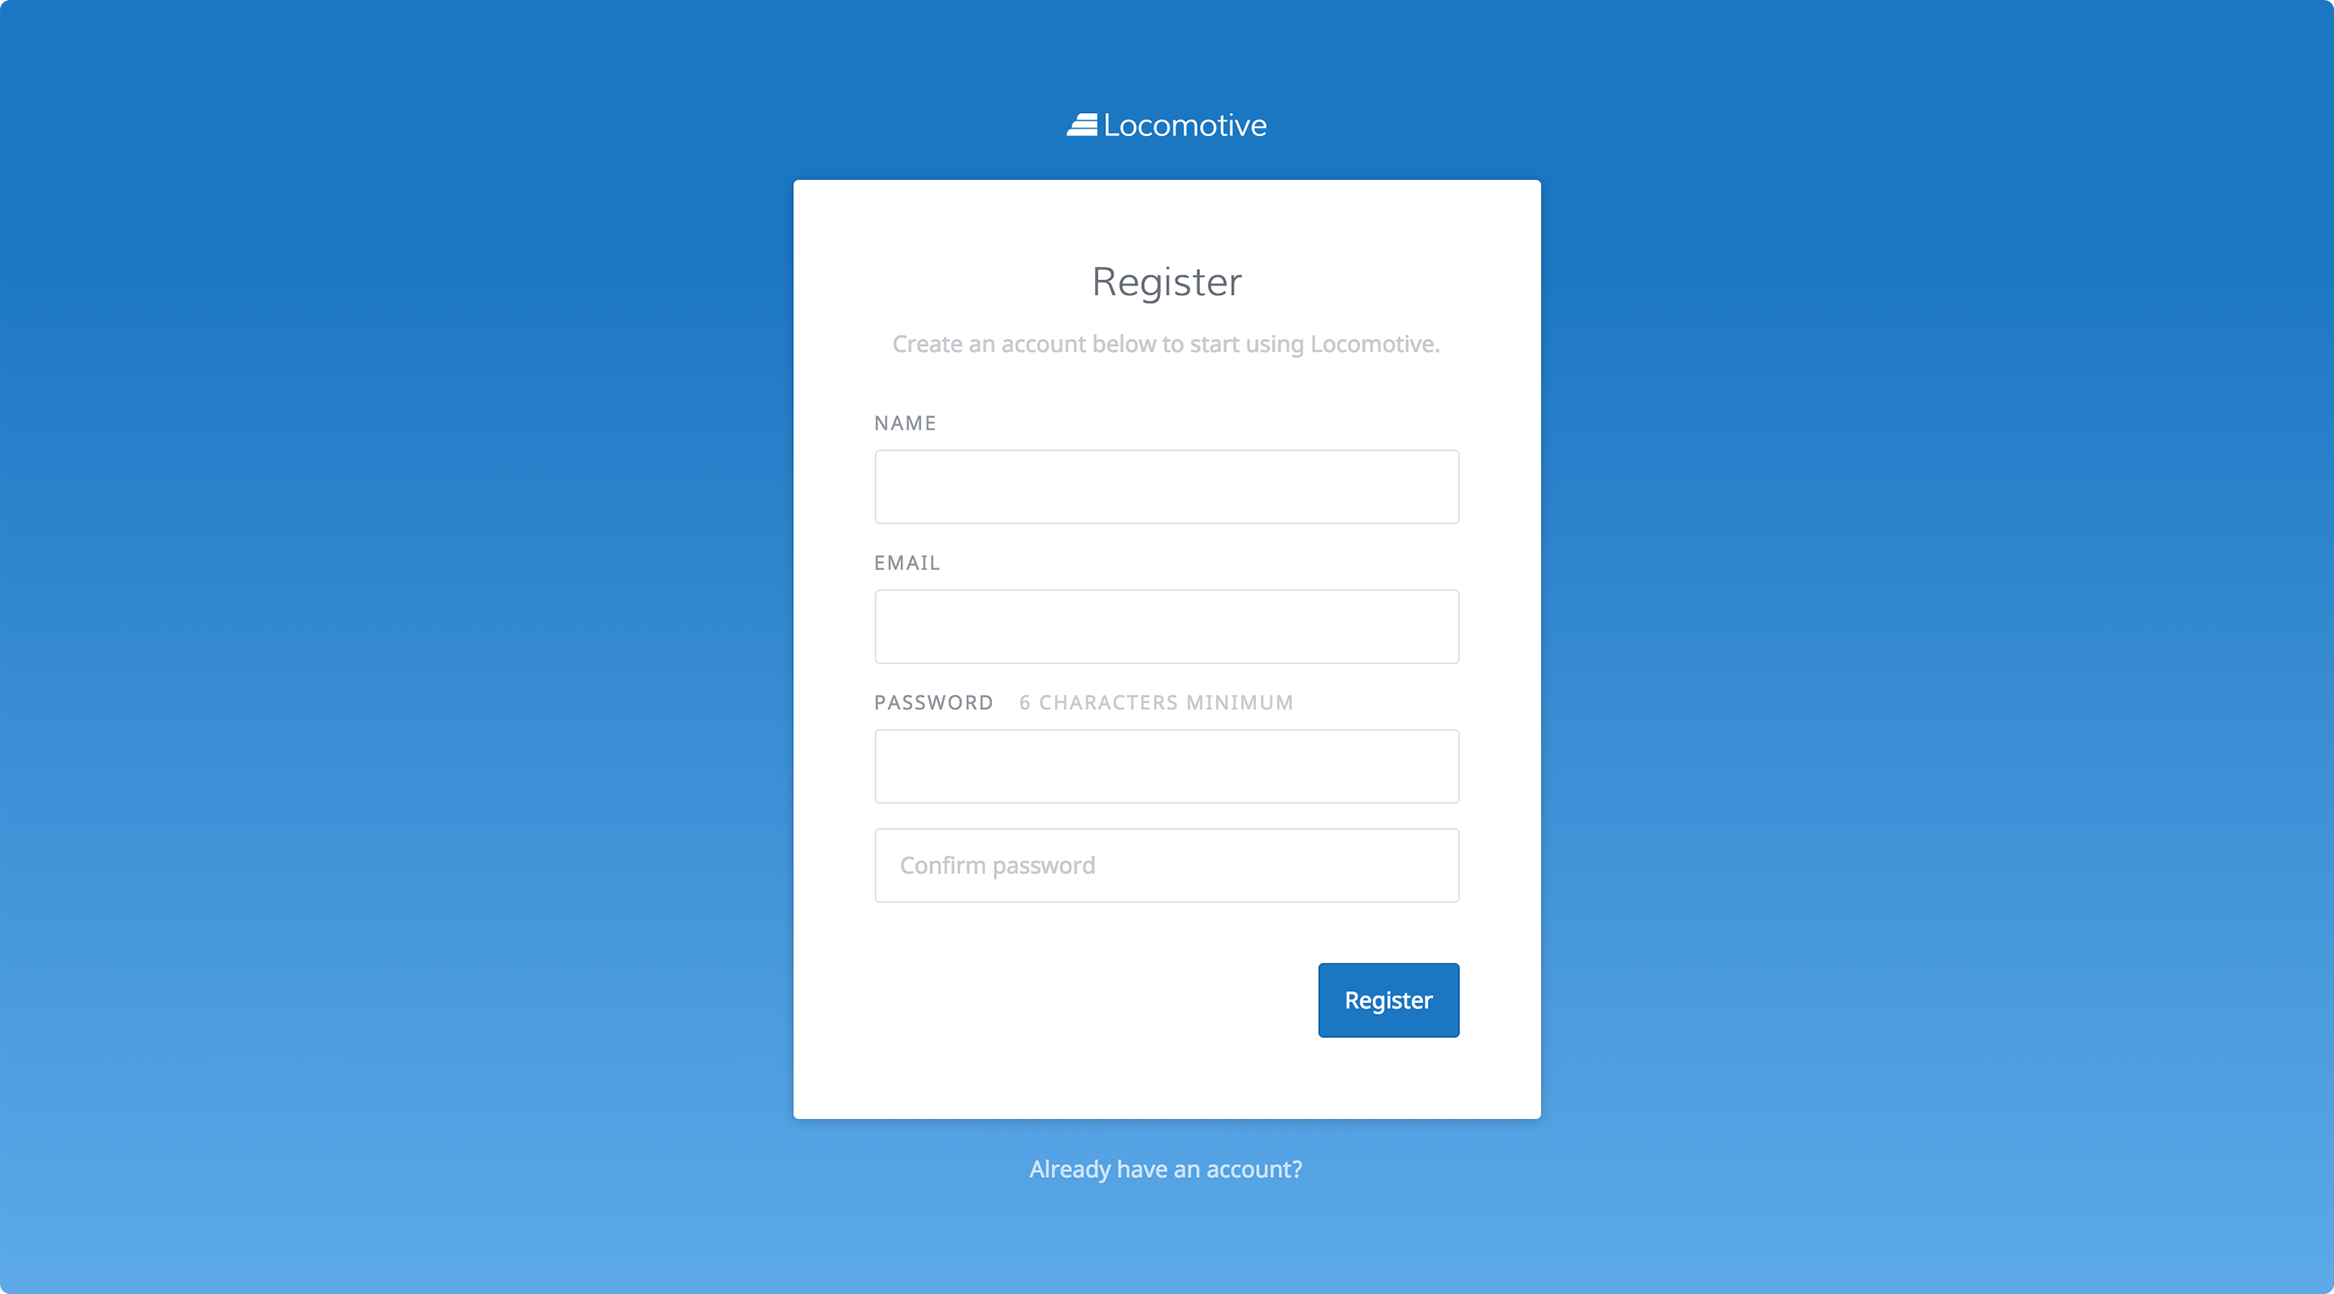
Click on "Do not have an account?" link at the bottom page and fill in the Sign up form in order to create your first account.

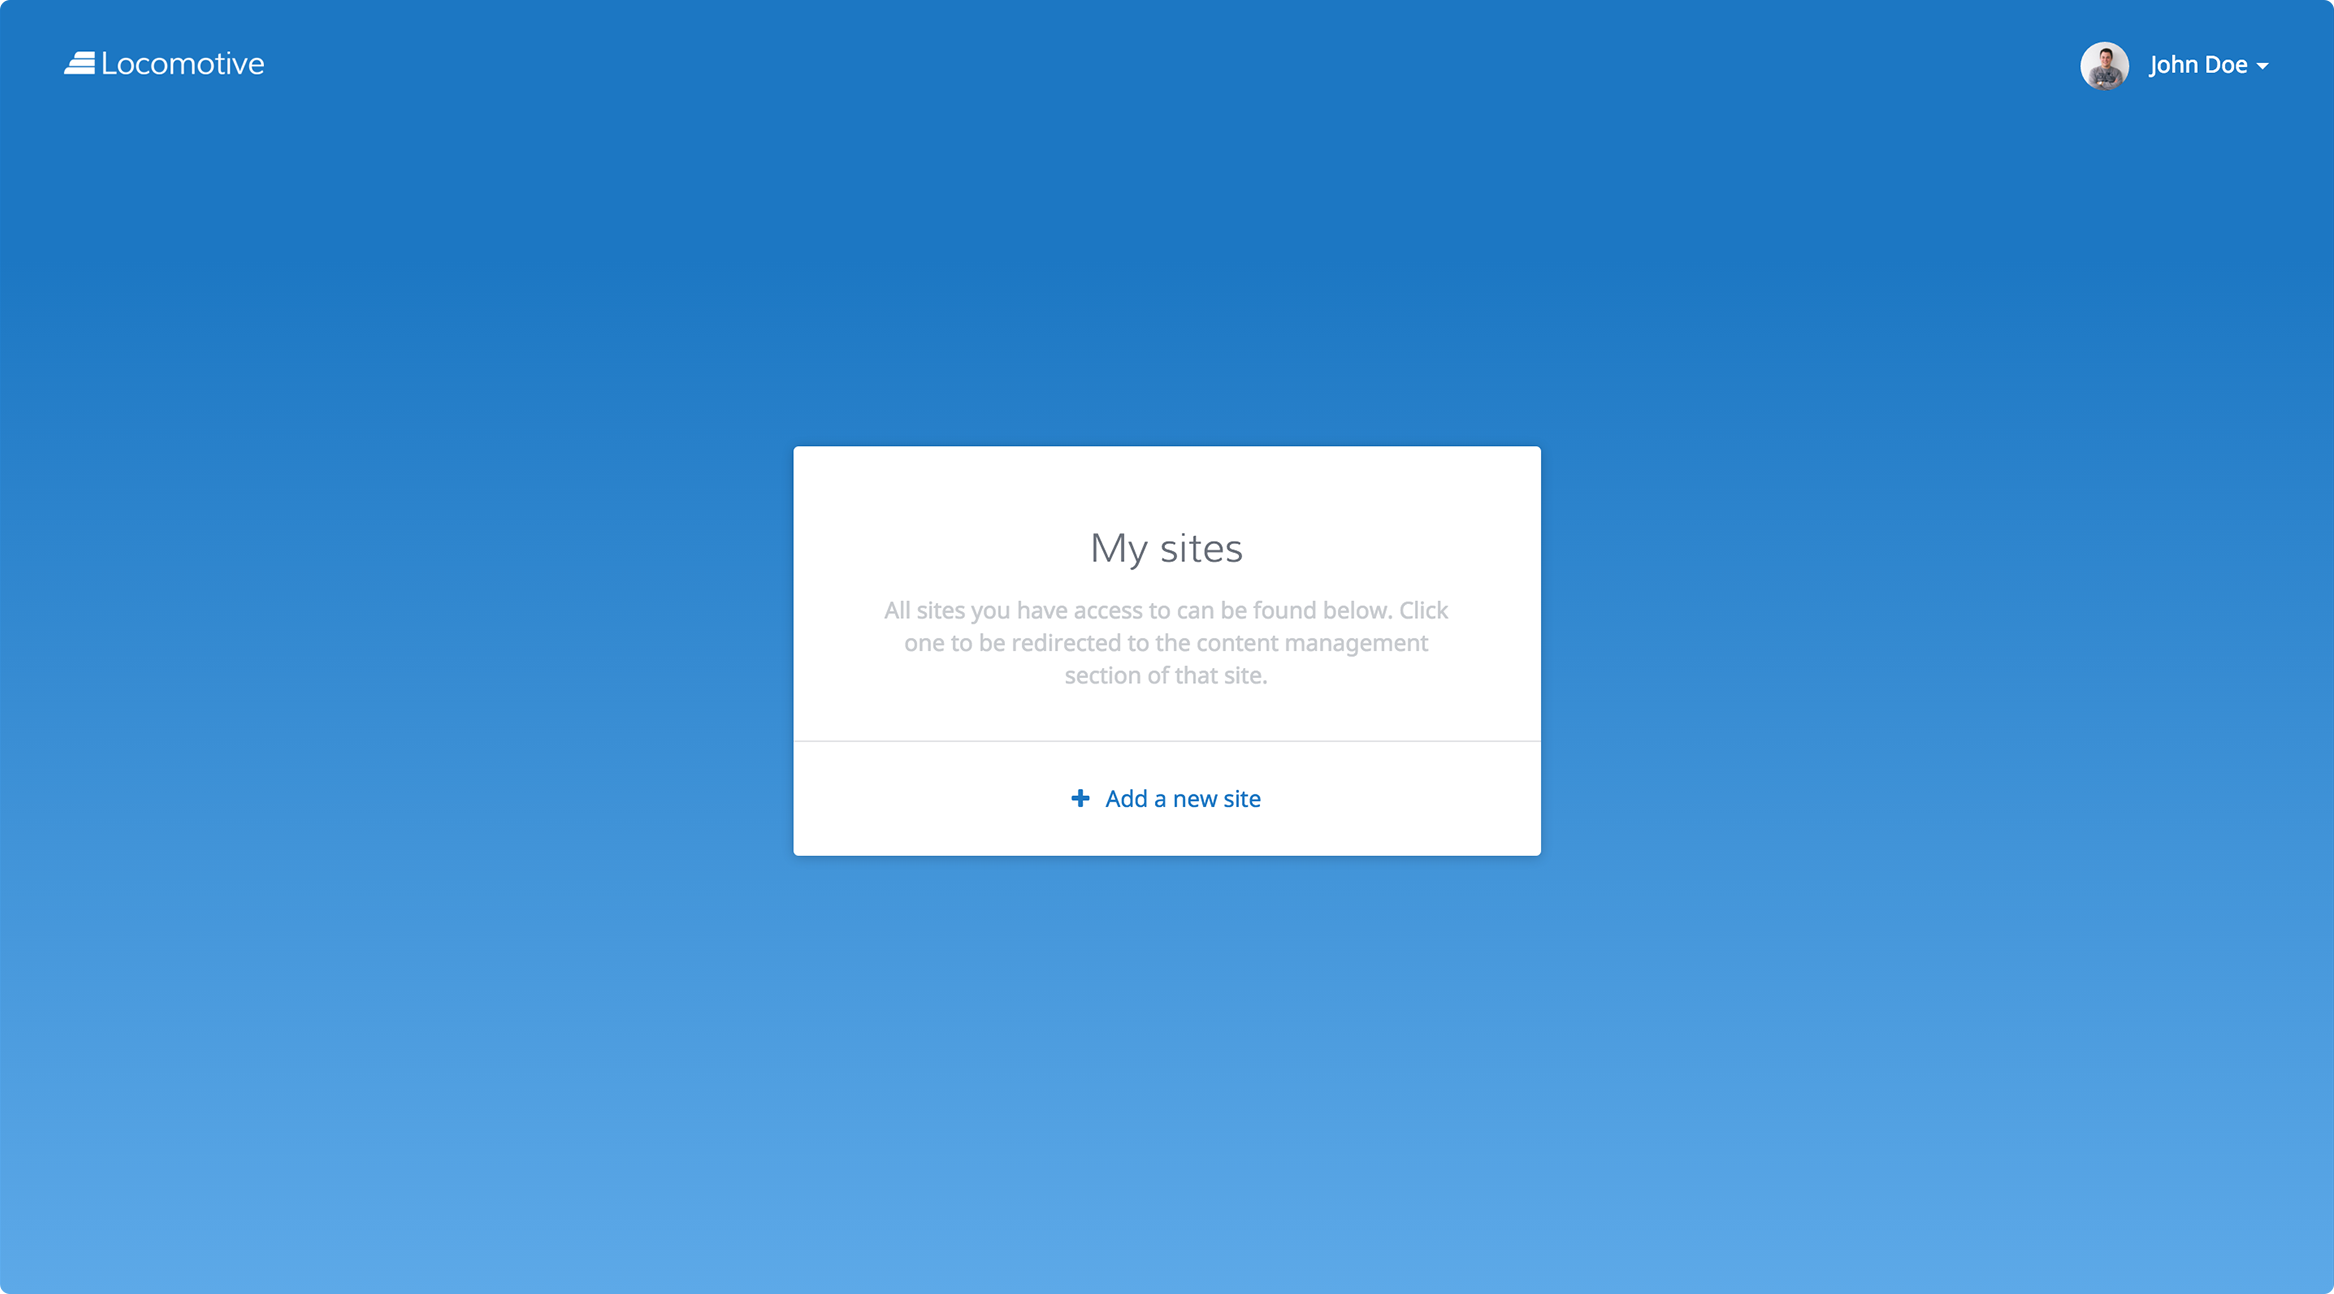
On the next screen, click on the "Add a new site" button.

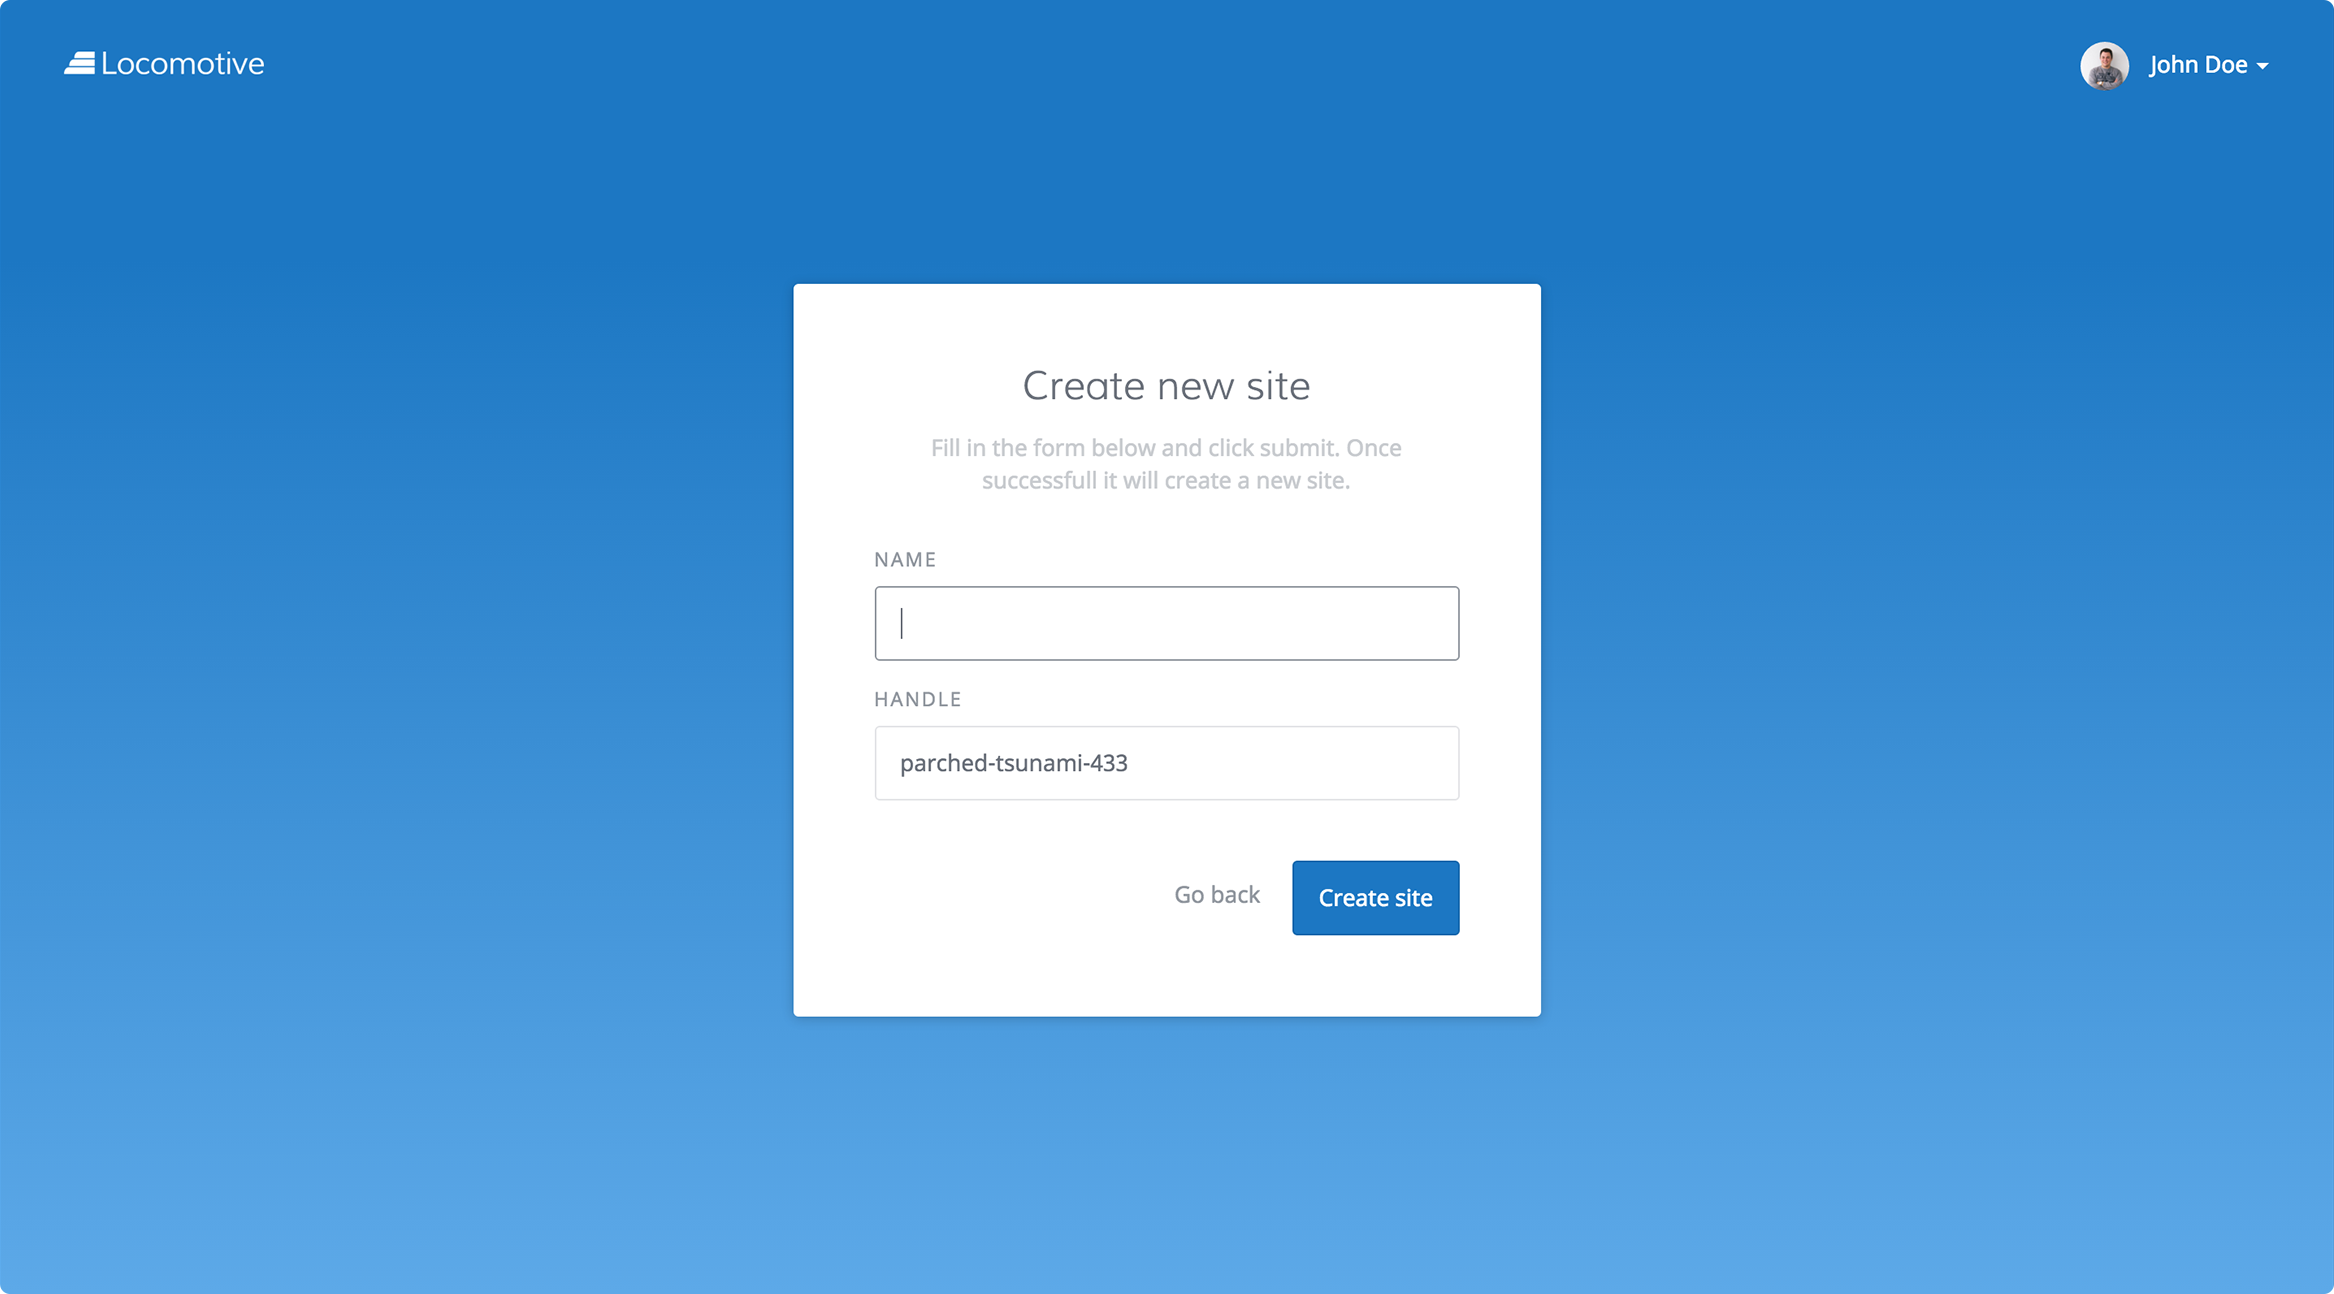
Fill in the form and press "Create site"

Pushing a site template with Wagon
Prerequisites:
- site handle assigned to your site when you create it (peached-tsunami-433).
- the email you used to sign up
- your API key that you can find at this url: http://localhost:3000/locomotive/my_account/edit#api
If you have not installed Wagon, do:
curl -O https://wagonapp.s3.amazonaws.com/myportfolio.zip
unzip myportfolio.zip
cd My\ portfolio/
bundle install
Upgrading WagonYou can upgrade it by running bundle upgrade at the root folder of your Wagon site.
Otherwise, if you have followed on the quick start page, go to the folder where you created your portfolio app.
If you have not followed the tutorial on the quick start page, do:
mkdir -p ~/Sites/Wagon
cd ~/Sites/Wagon
wagon init MyPortfolio -t bootstrap
cd MyPortfolio
bundle install
In all three cases, uncomment / complete the config/deploy.yml file.
local:
  host: localhost:3000
  handle: <the handle property of your site>
  email: <your email>
  api_key: <your API key>
Deploy your site to the Engine
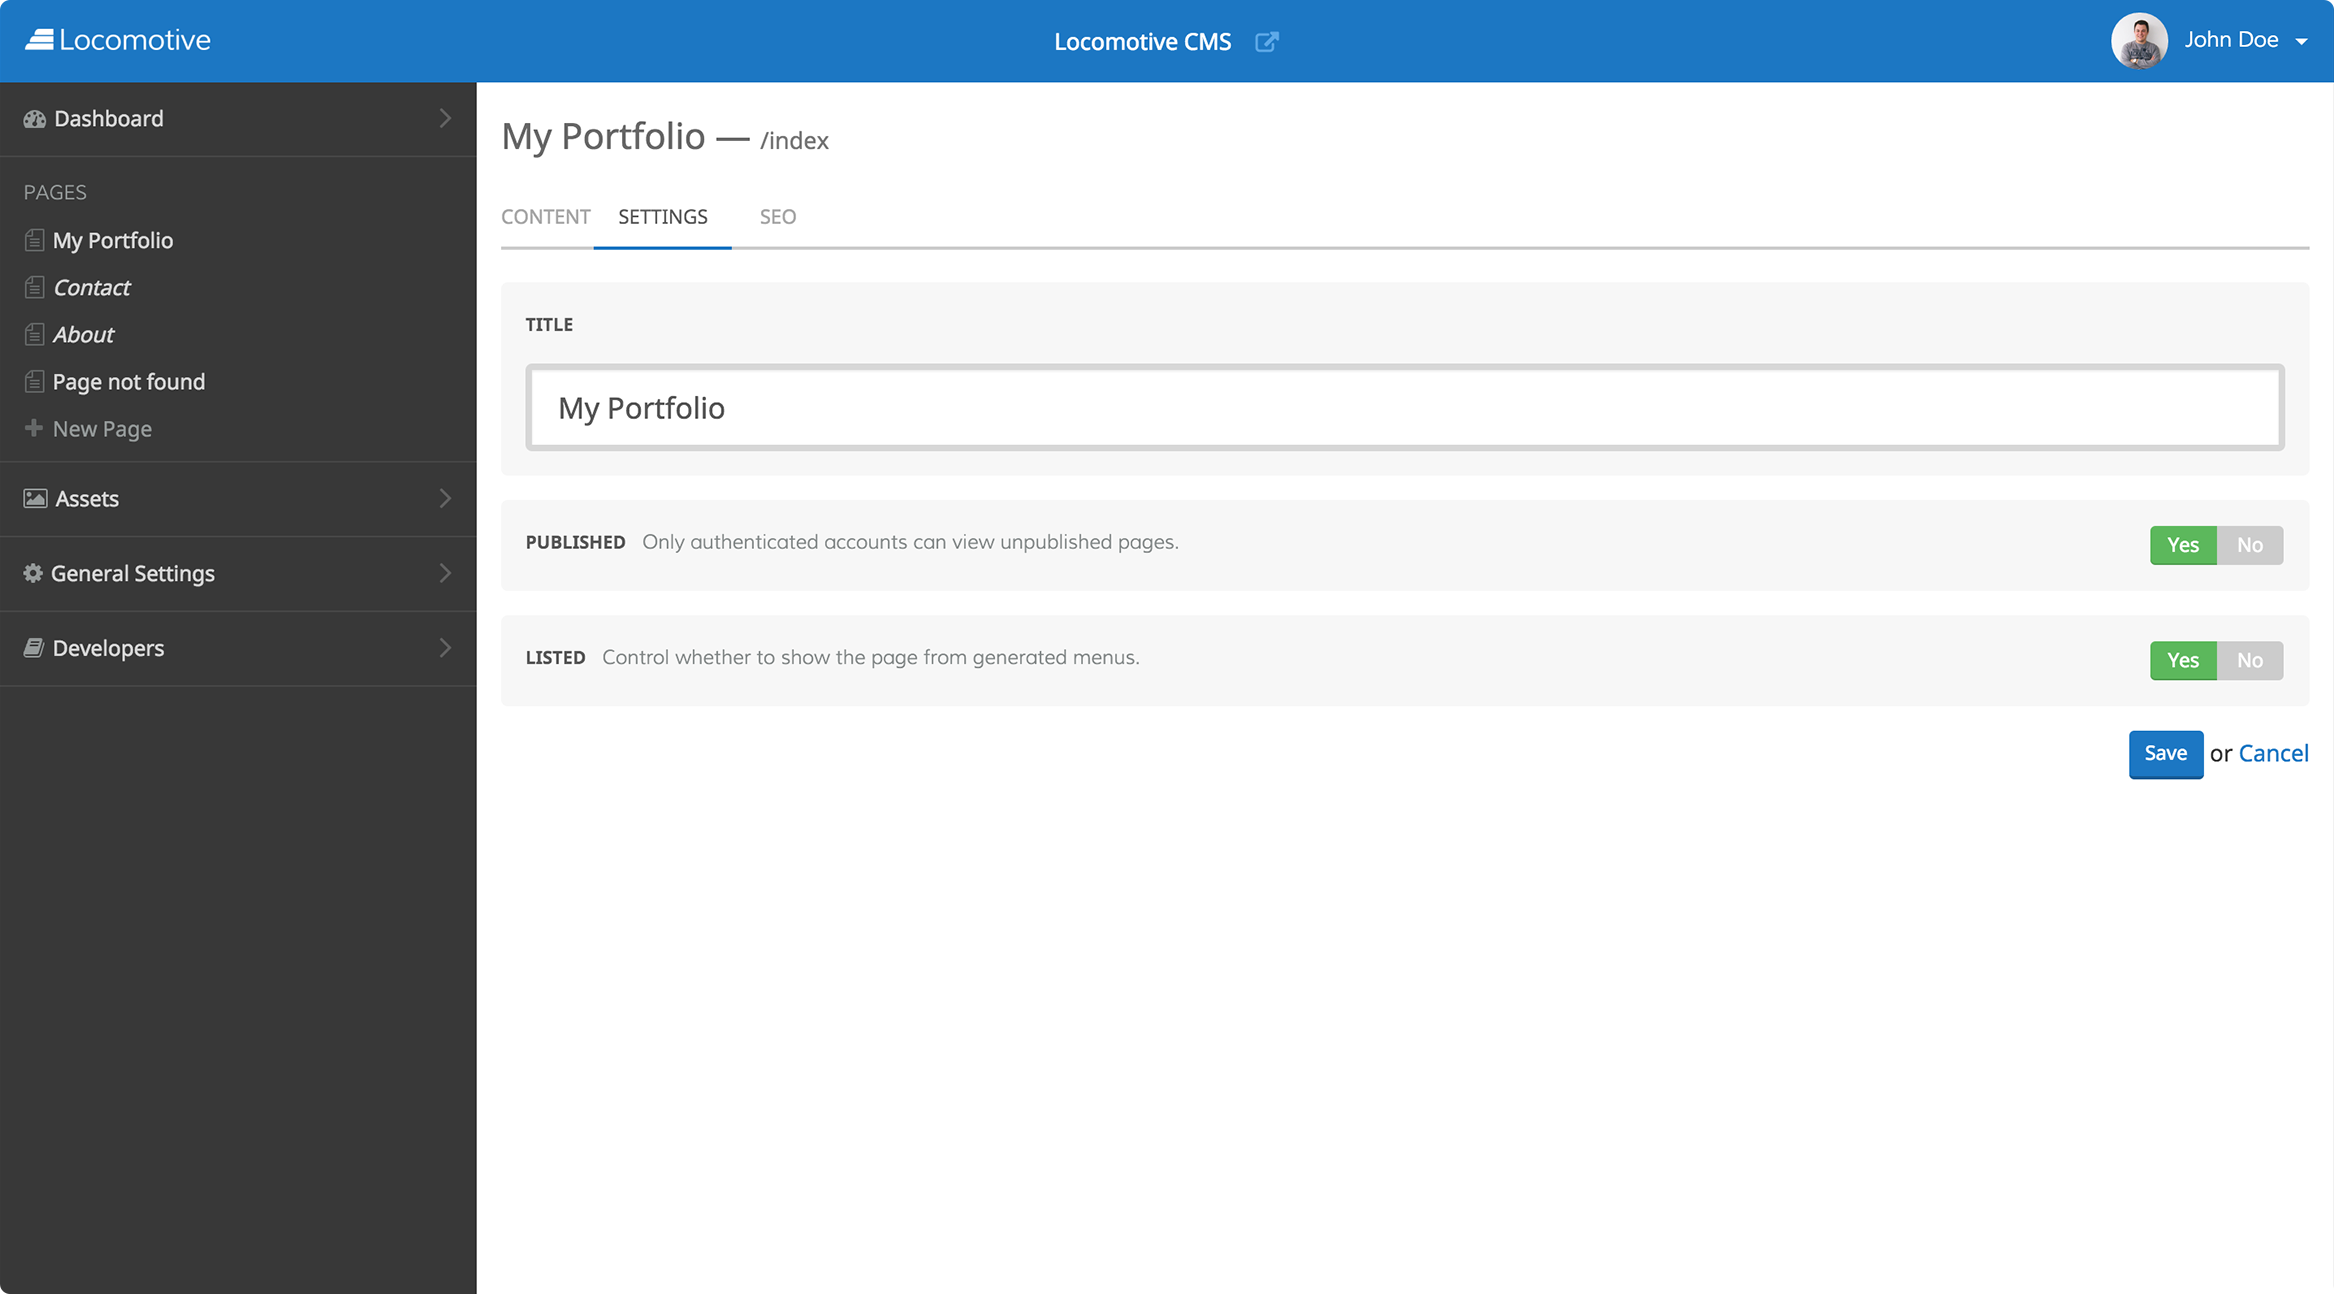
bundle exec wagon deploy local -d -vFinally, go back to your site, you should see something similar to the screenshot below.

A quick note on the options you can pass tobundle exec wagon push local
- -d means "data" and allows you to deploy data that you may have added to
site.yml under the config folder
.yml files under the data folder
headers of your .liquid pages- -v means "verbose" and allows you to see what is going when deploying;
- -r means "resource" and allows you to deploy certain specific resources of your site. The available resource types are: theme_assets, snippets, content_types, content_entries and pages. You can learn more about these resources in the section entitled template.
These parameters are also available when deploying to Heroku or on the Station.
Updated 8 months ago
